How to Set Up Google Analytics (GA4) for a Website the Right Way: Step-by-Step with Pictures
This tutorial was made for website owners that use the website builder Squarespace. If your website does not use Squarespace you may still use this tutorial, but step 10 and forward will not be one-to-one.
Google Analytics or GA4 is a popular analytics tool used to track certain sets of data on your website, IOS/mobile app, or connected platform like Shopify, or browser app.
The benefit of setting up your free Google Analytics (GA4) account is taking out the guess work on why a page, website, app, etc., is performing well or is not. With GA4 you can see where visitors are failing to execute desired tasks like purchasing and where to put effort and money into fixing those issues.
Here is the step-by step tutorial on how to set up your account.

Step 1.
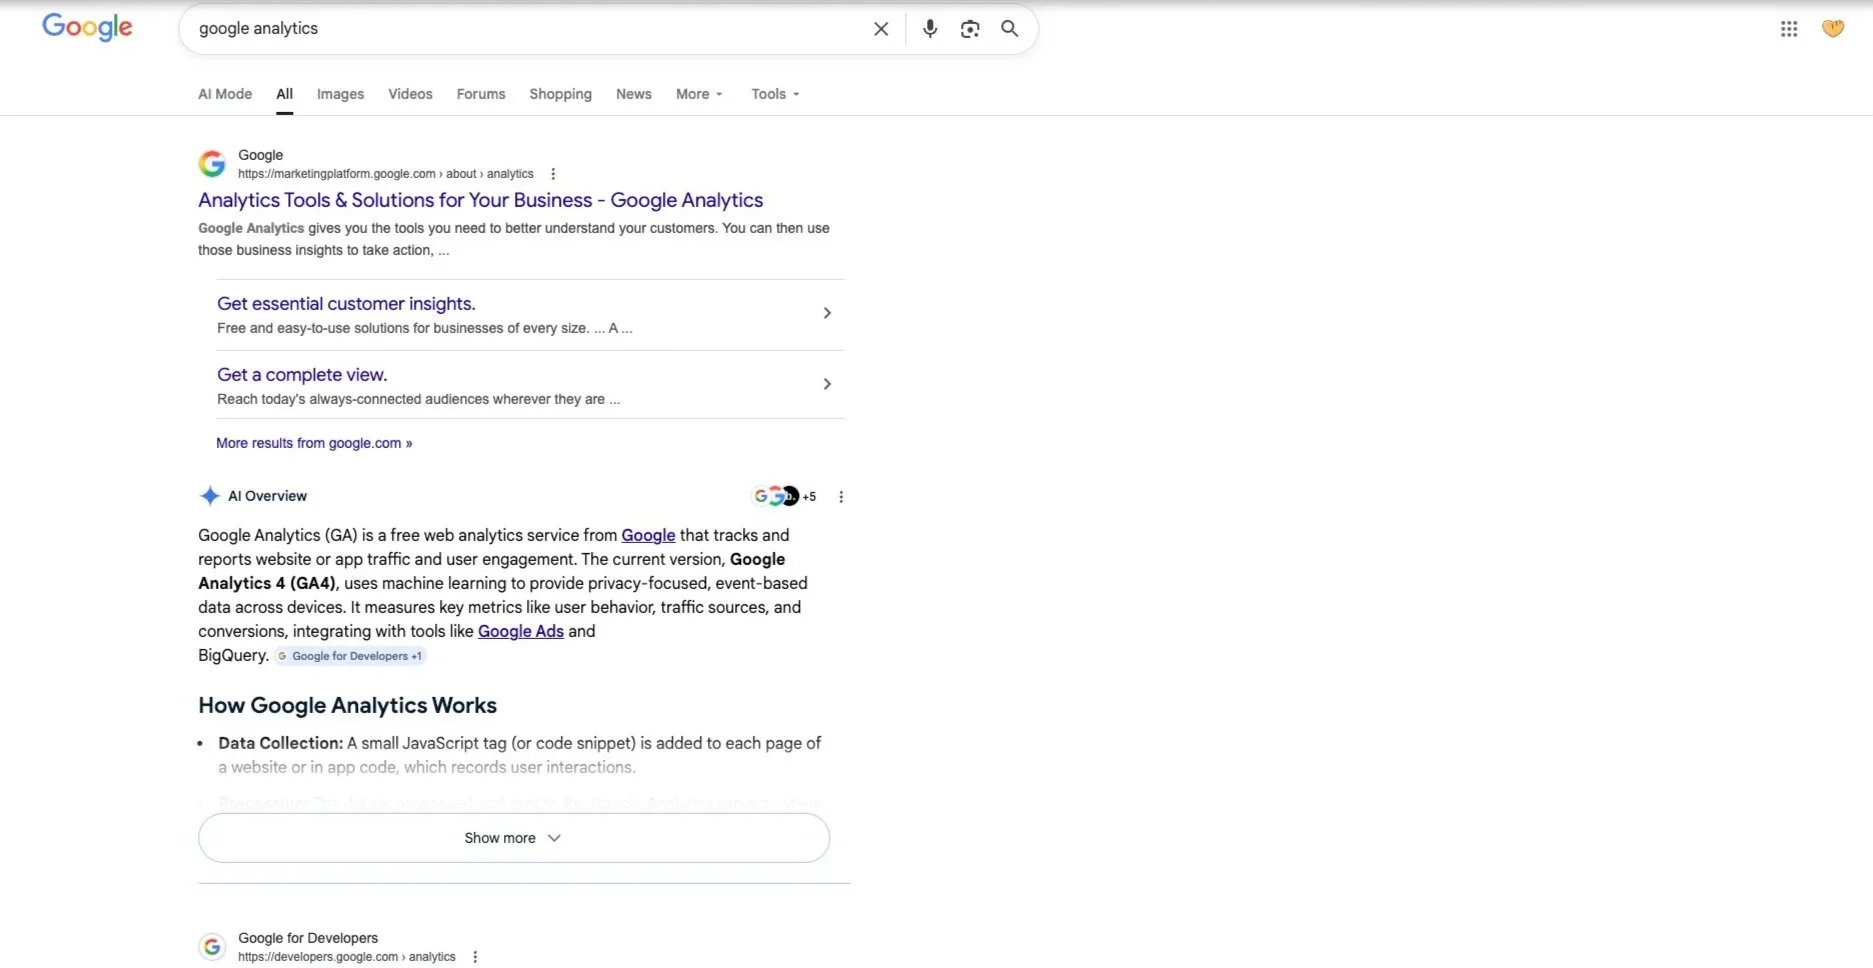
Go into your Google Chrome browser and search “google analytics”. Once you do that, your screen should look like the one down below.
Step 2.
Click the first link at the top of the page. The one that says, “Analytics Tools & Solutions for Your Business - Google Analytics”.
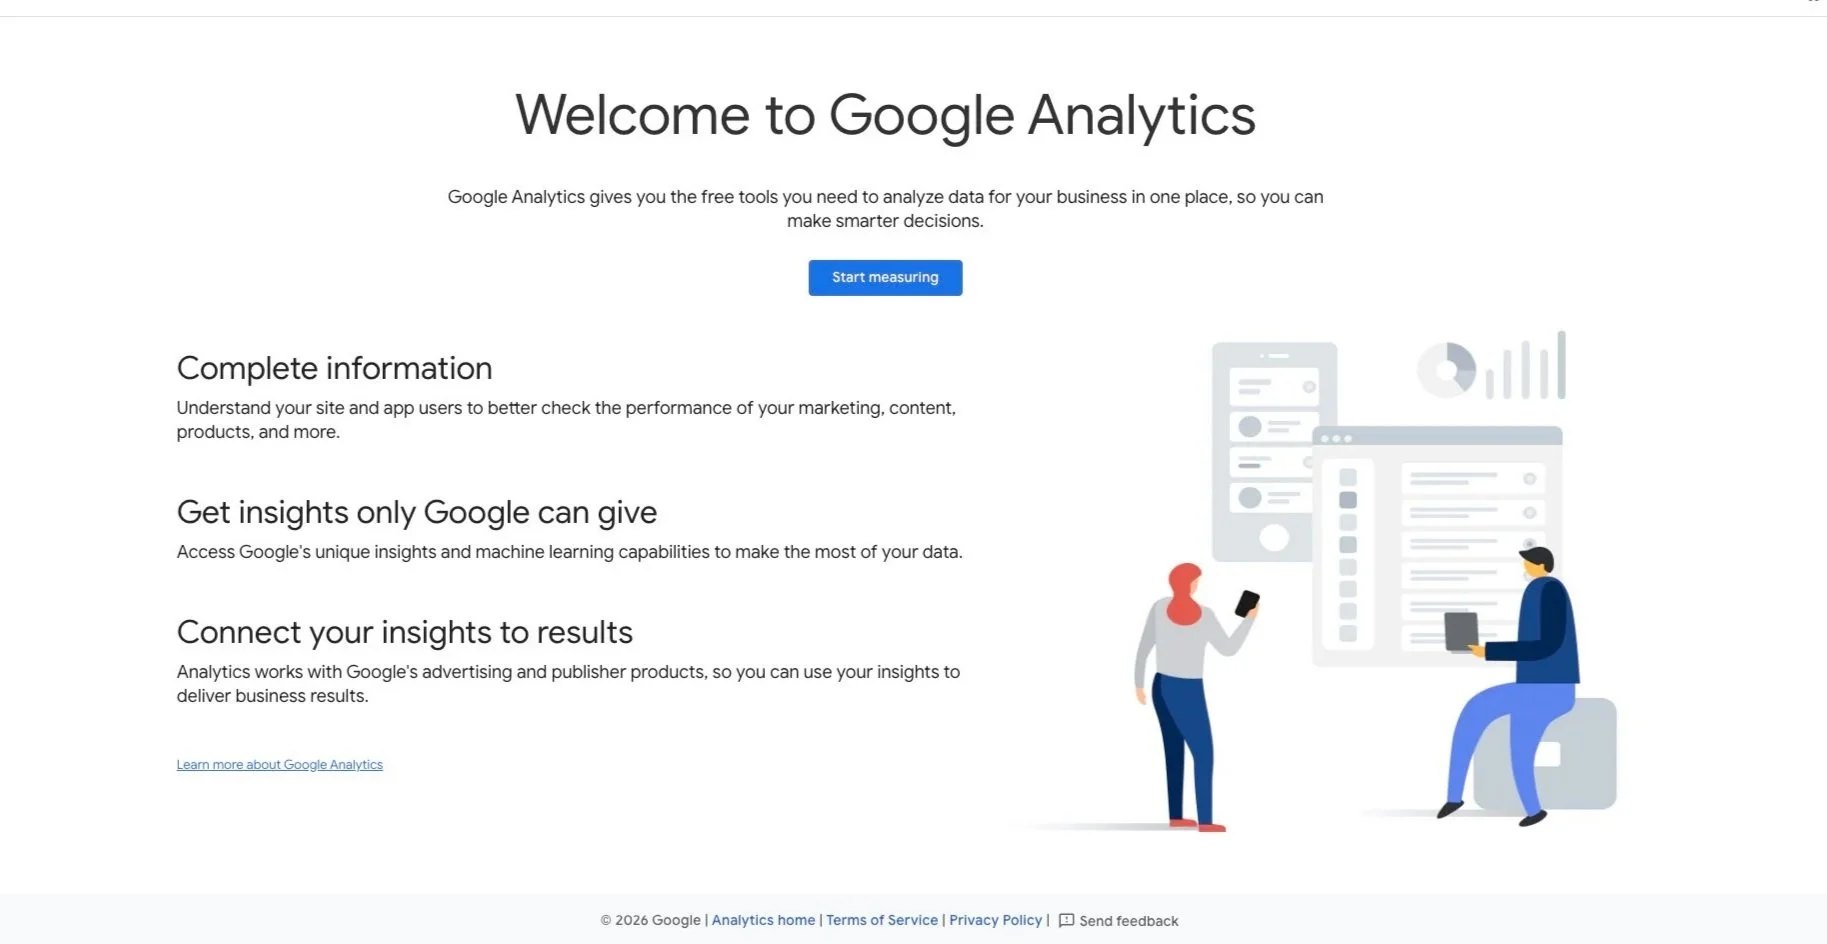
When you click on that link your screen should look like the photo directly below.

Step 3.
Click the button in the top left corner that says “Get started today”.
After clicking on that button your screen should look like the photo directly below.
Step 4.
Click on the button in the top middle of the screen that says “Start measuring”.
After clicking on that button, your screen should look like this.
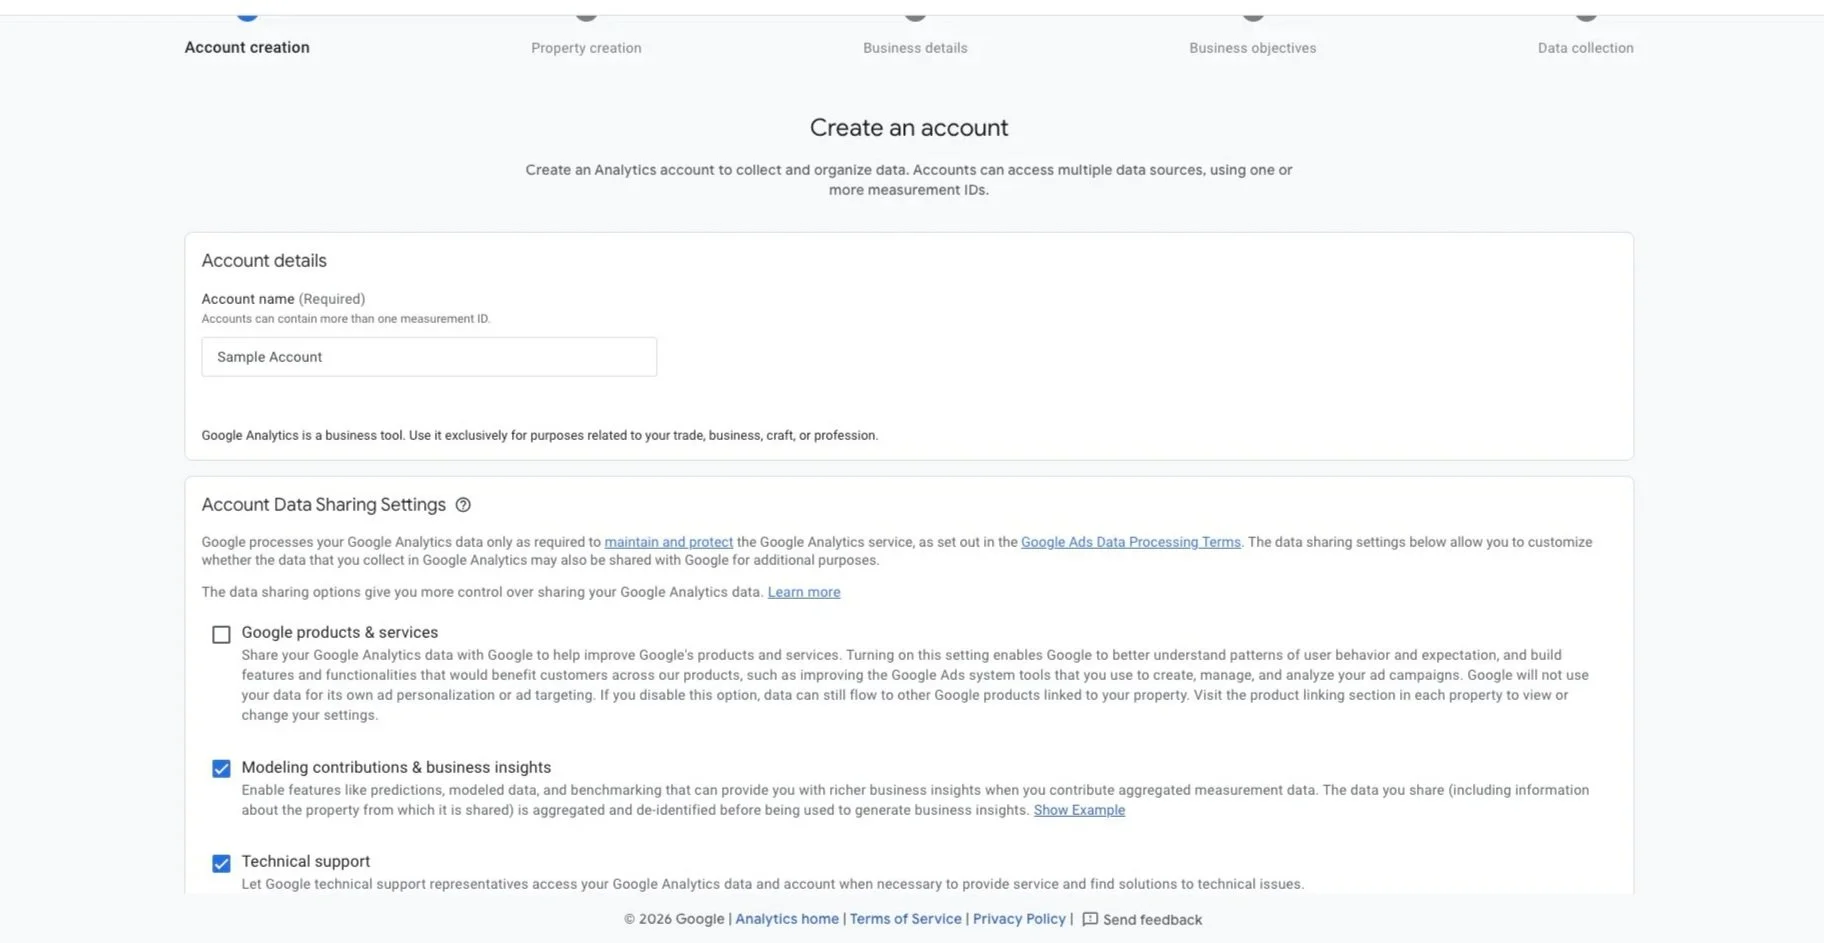
In the first box where it says “My New Account Name”, put the name you would like to call your account. You can use the name of your business.
You can keep the checkboxes checked or you can uncheck them. The checkboxes are options on how you would like Google to share your information. They are optional, up to personal choice, and not necessary to move onto the next step.
Step 5.
After you have filled out that information, click the button on the bottom that says, “Next”.
Your screen should match the photo directly down below.
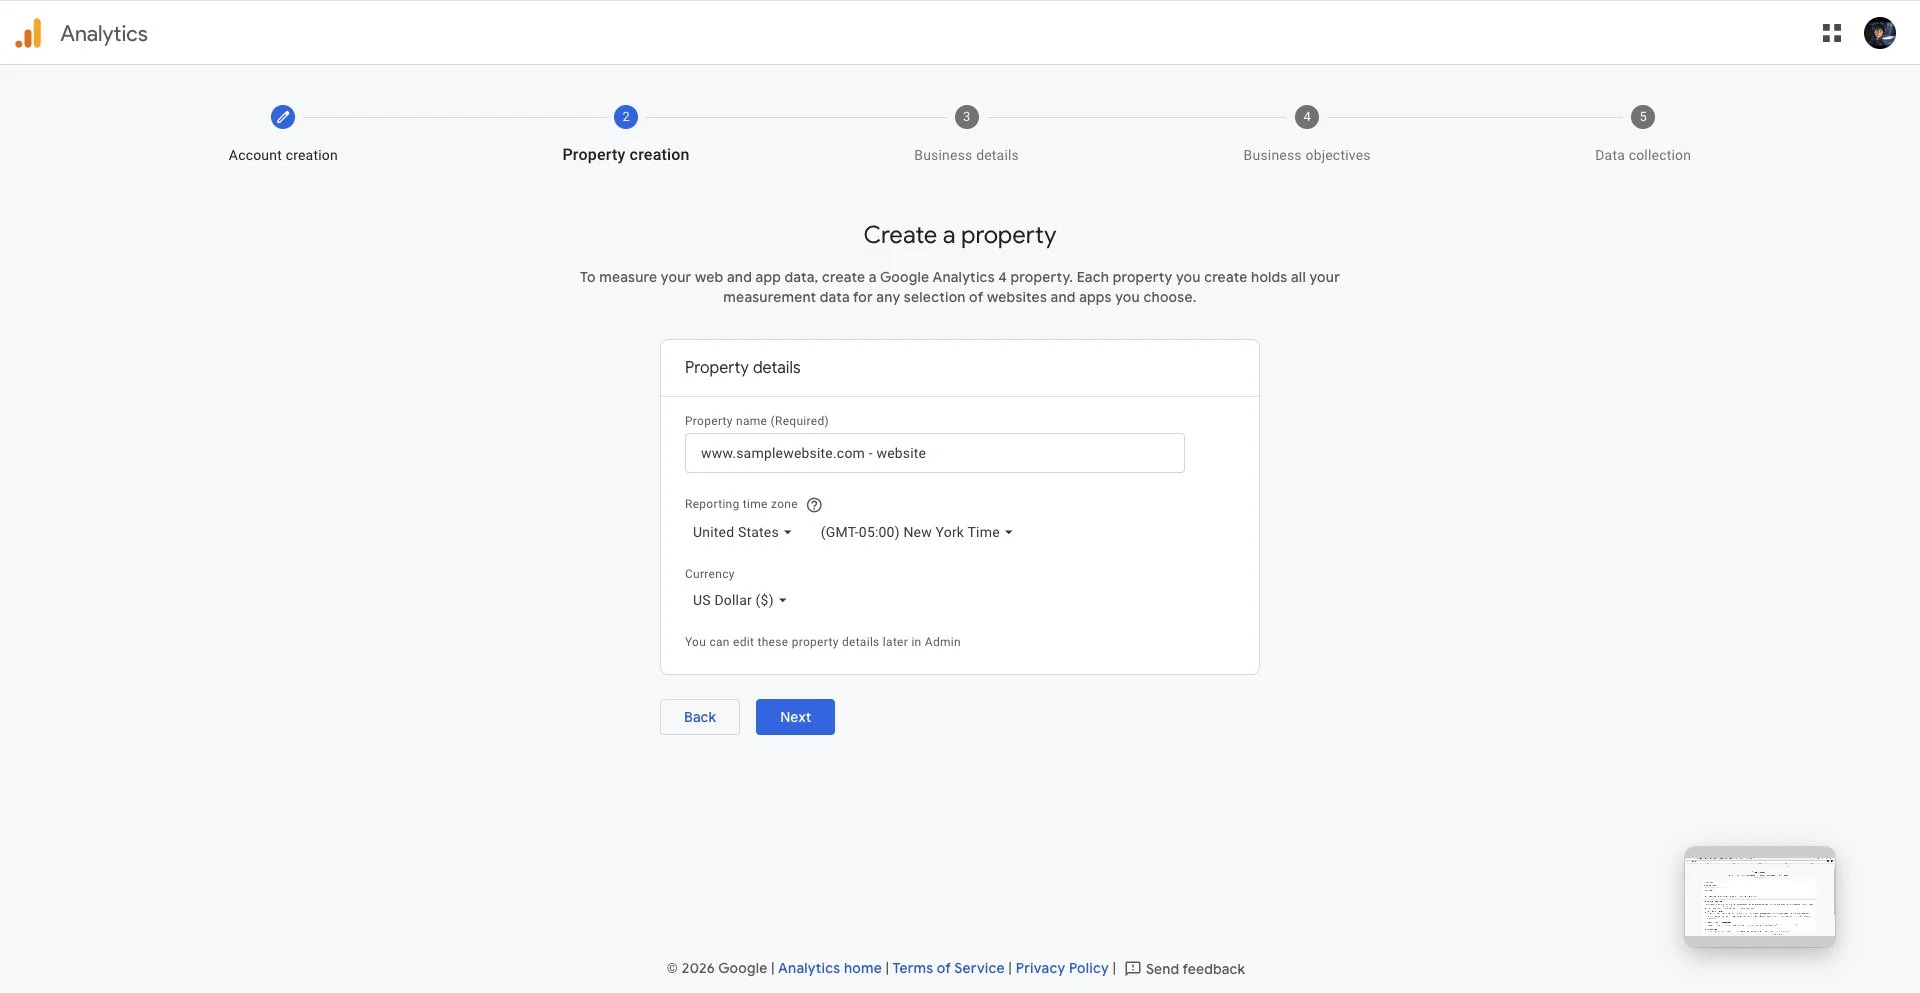
Where it says “Property name (Required)” type the name of your website.
For example it should look something like this “www.samplewebsite.com - website”. Put “- website” after typing in your website.
Change the time zone to match your country’s timezone.
Change the currency to the currency you collect money in from your website.
After you have filled everything out, press the button that says “Next”.
Step 6.
After clicking “Next” your screen should look like this.
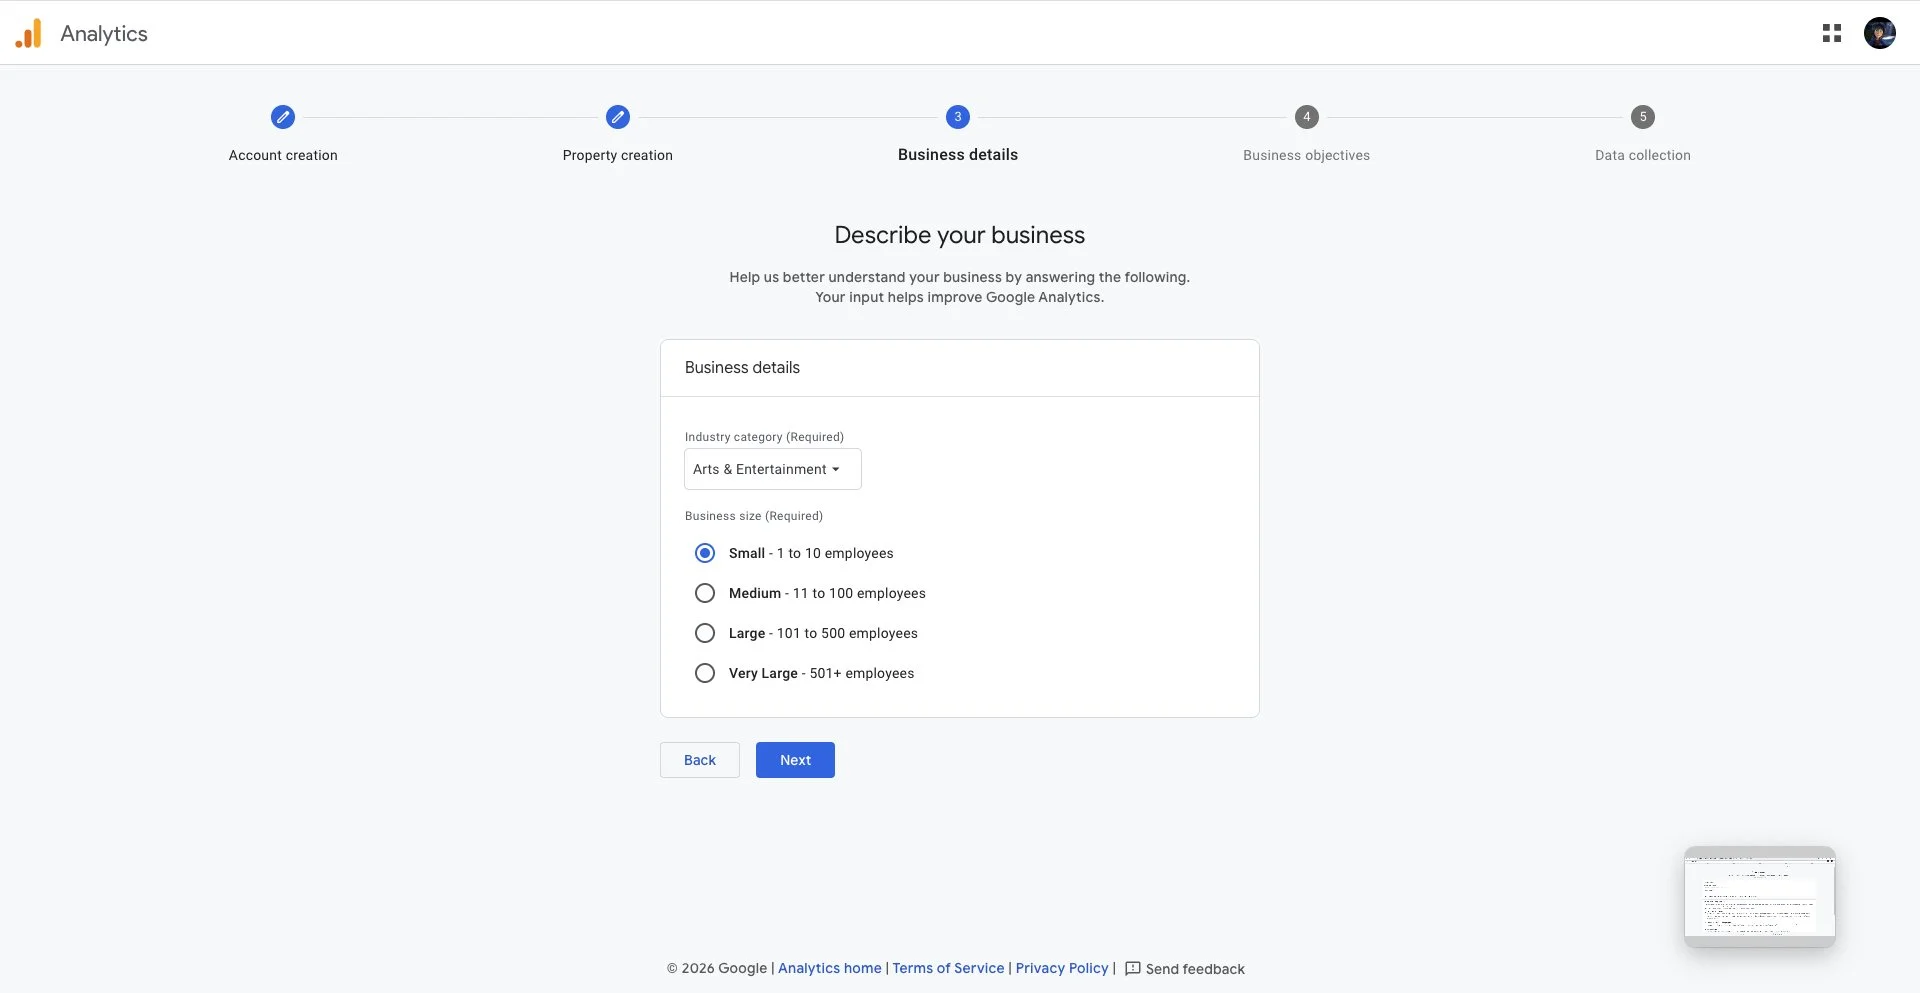
Fill out the “Industry category” with the category that best fits your business.
Select the size of your business by the amount of employees you have.
Then, click “Next”.
Step 7.
After clicking “Next” your screen should look like this.
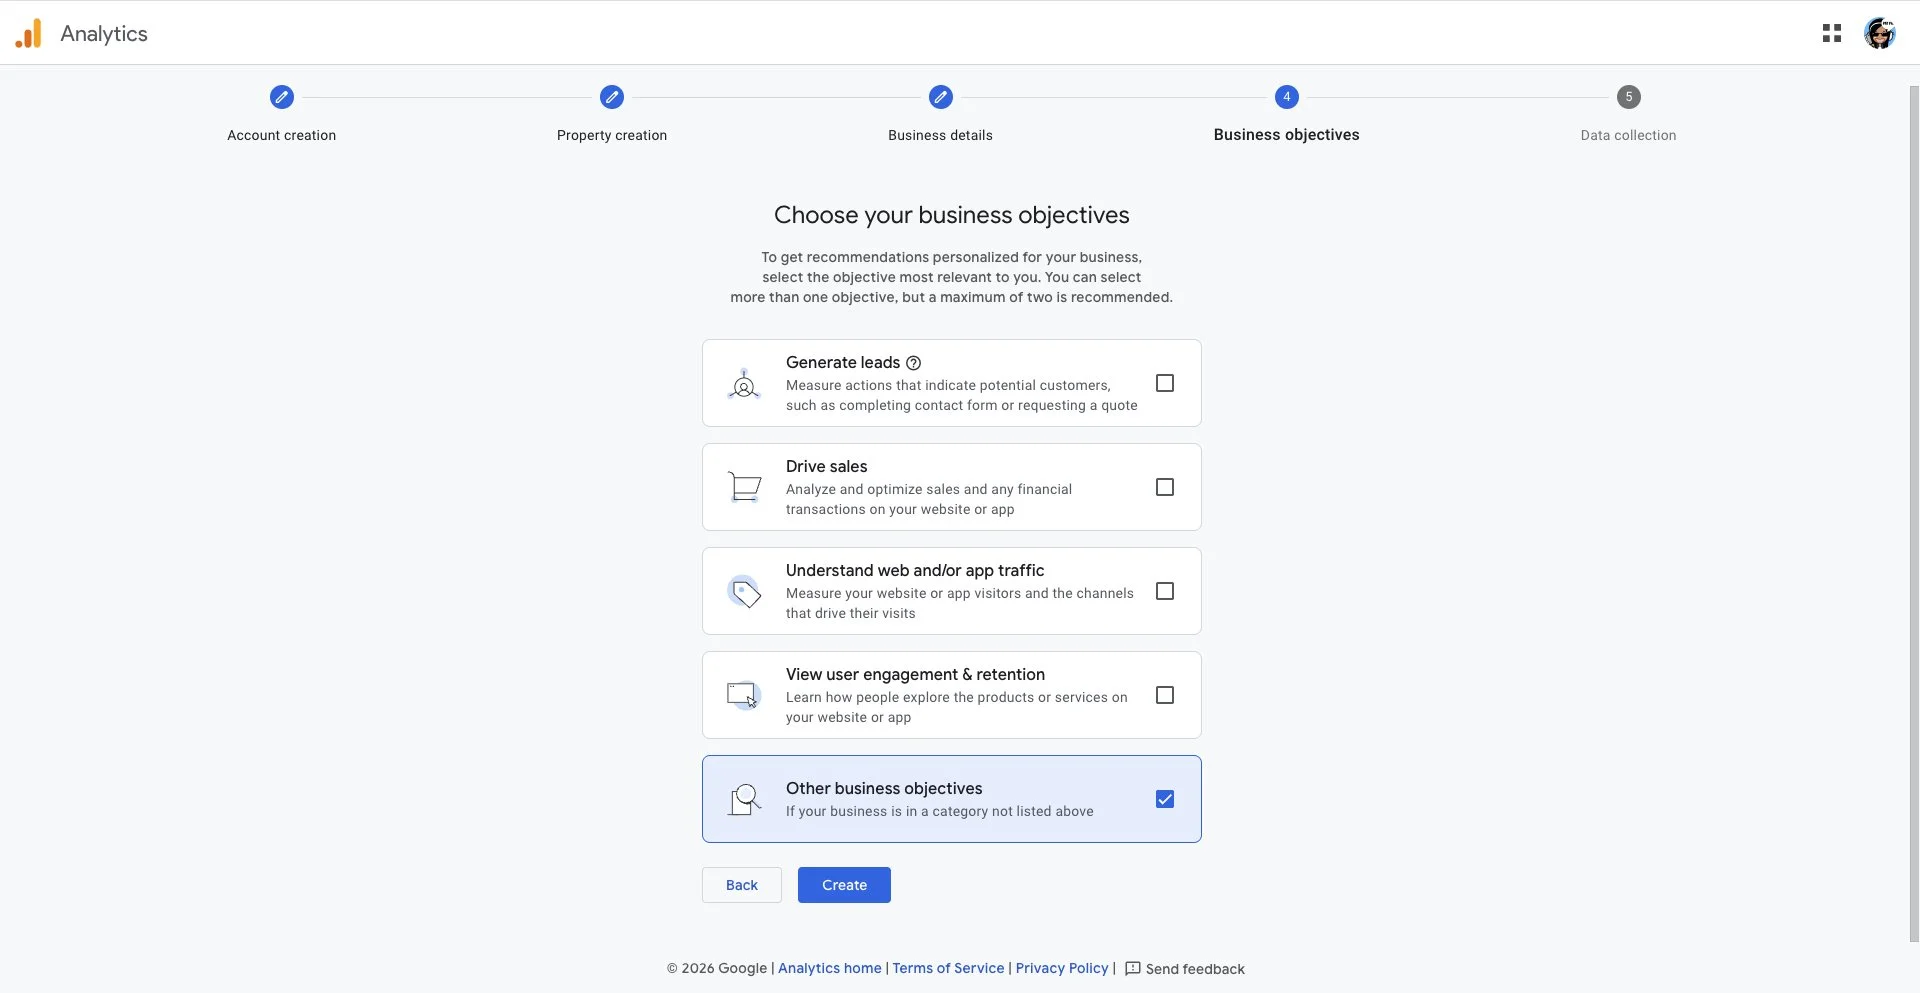
Select the check box for the option that says “Other Business Objectives”. This option opens up all of your analytics options instead of limiting them to specific objectives.
Then, press “Create”.
A box with, “Google Analytics Terms of Service Agreement” should pop up, click the check box that says, “I also accept the Data Processing Terms as required by GDPR. Learn more” and then “I Accept”.
Step 8
After hitting, “I accept”, your page should look like the photo below.
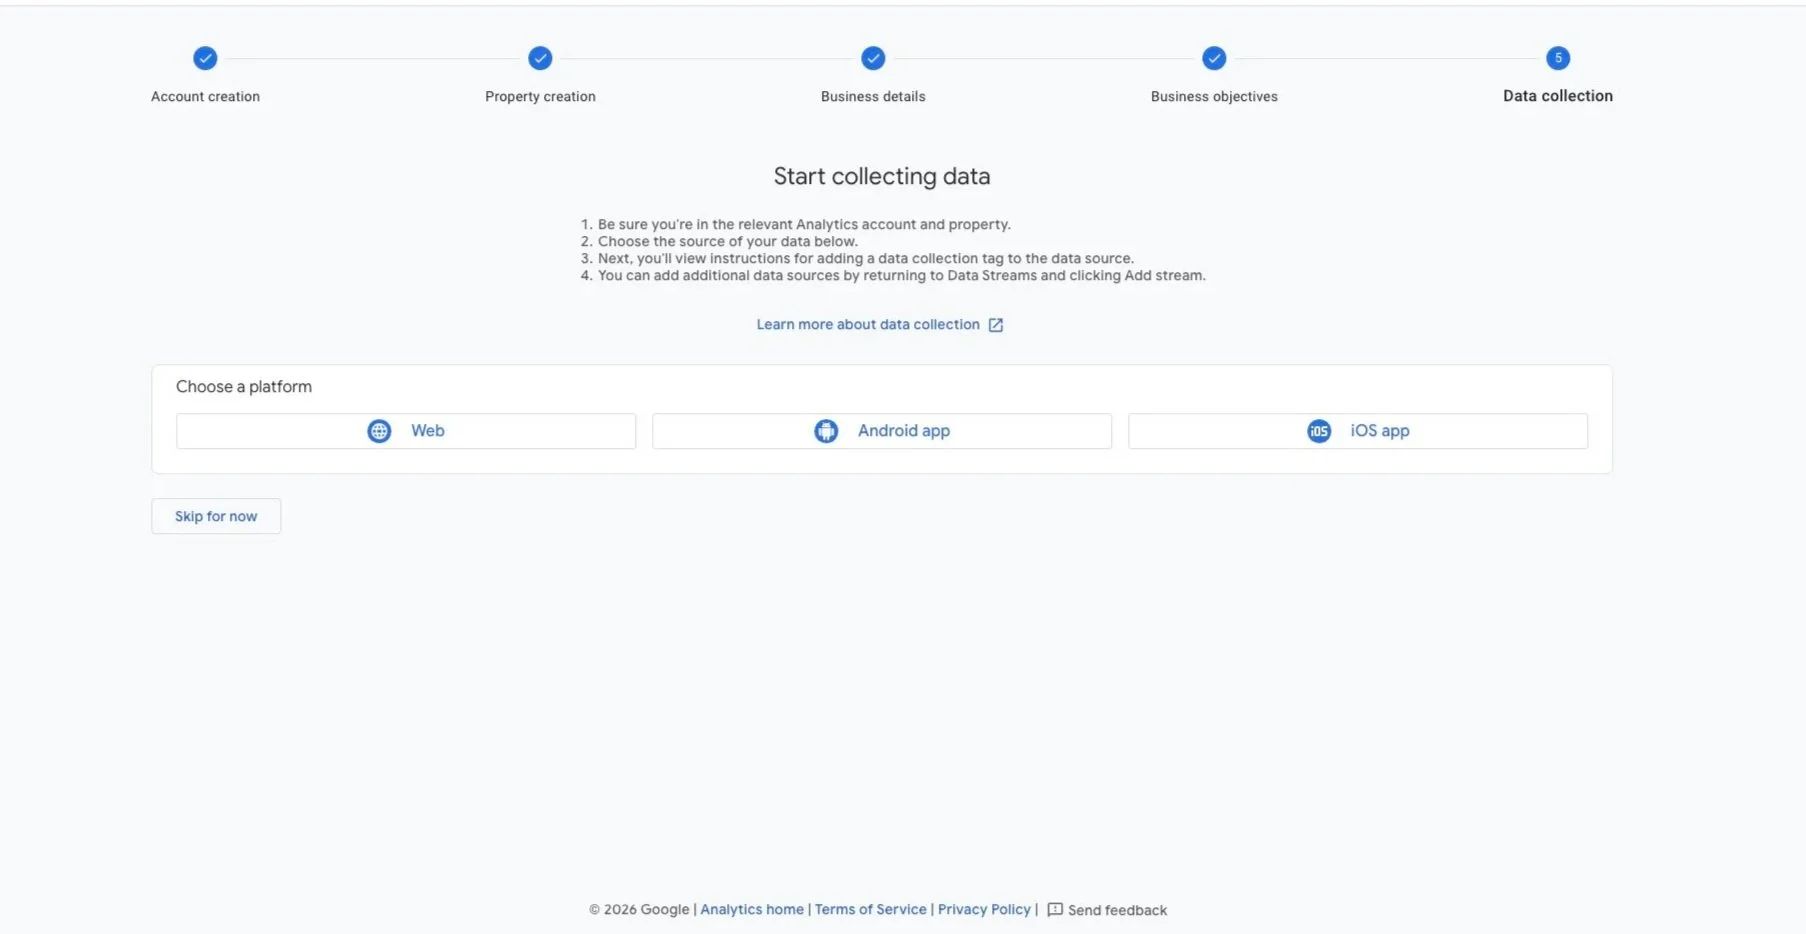
Since we are setting up Google Analytics for a website in this tutorial we are choosing the platform “Web”, but GA4 does allow data tracking for android & IOS apps.
Step 9.
After choosing “web” for your platform your page should look like the one below.
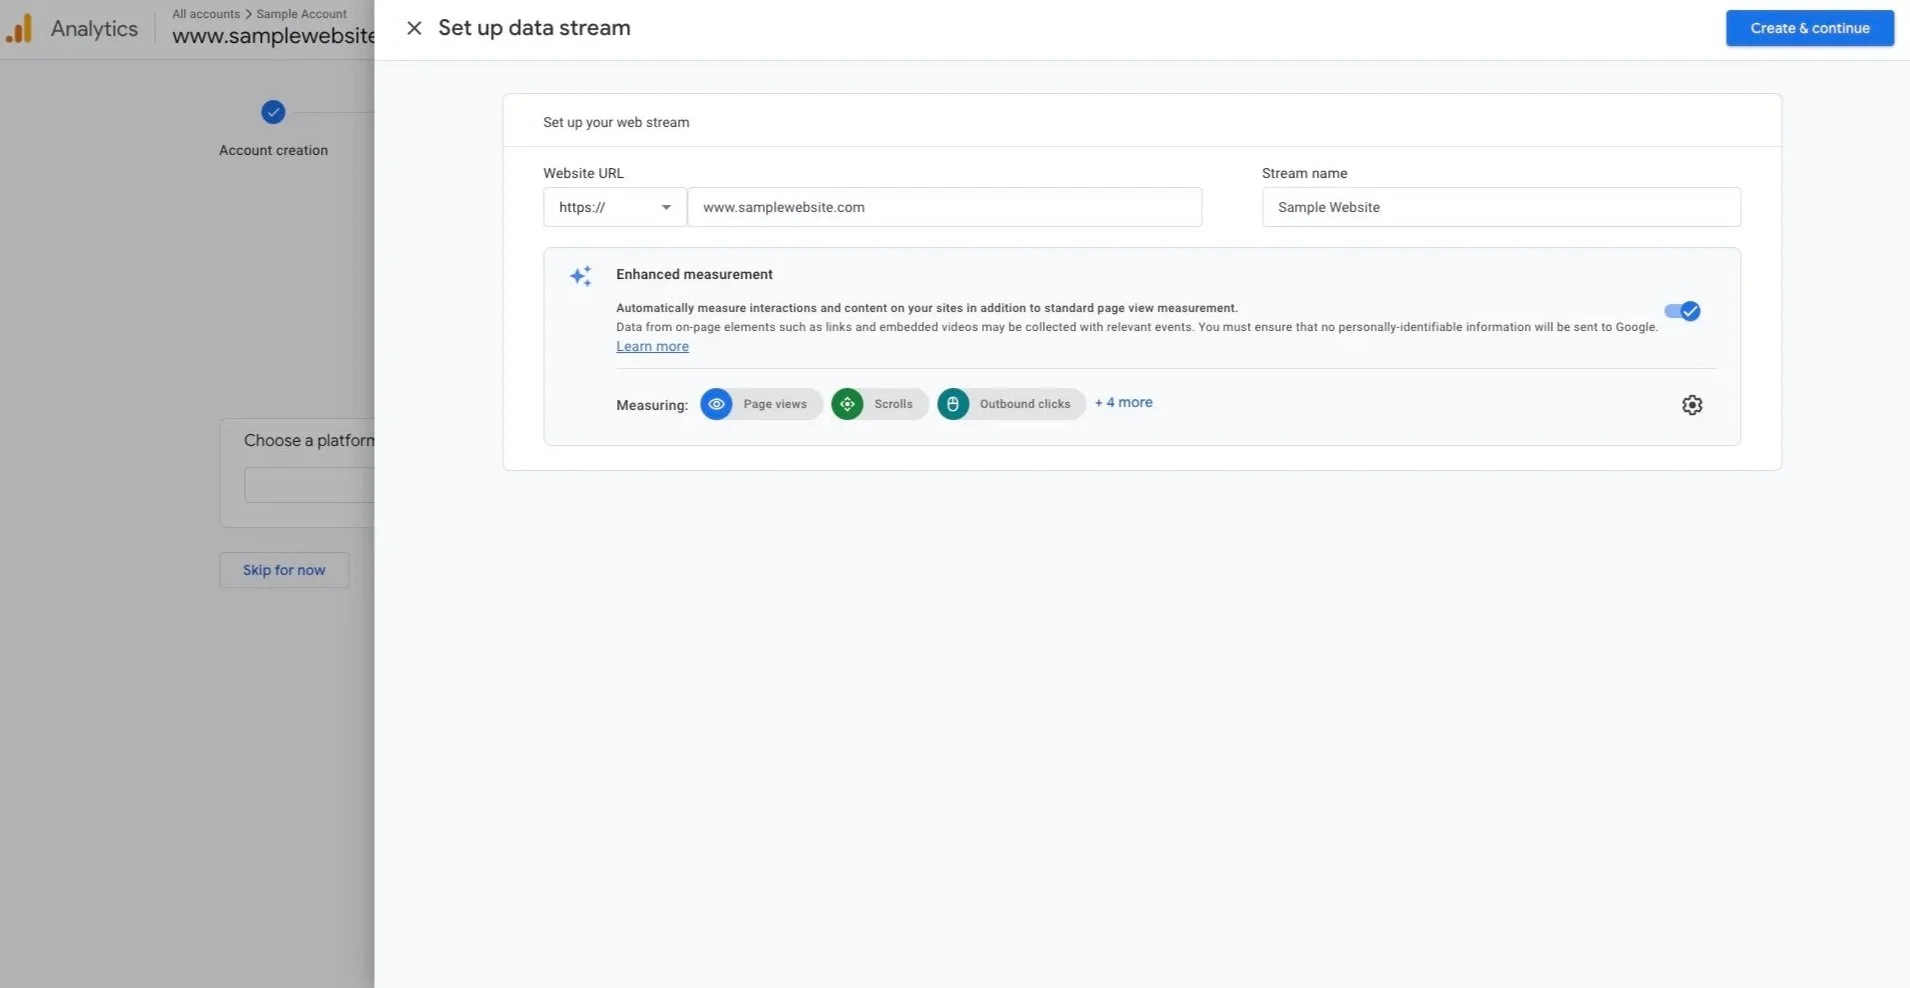
Where it says “Website URL” type the URL to your website.
Where it says “Stream name” type in the name of your website without the www. & .com. Use capital letters & appropriate spacing.
Then once you’re done press “Create & continue”.
Step 10.
Once you do that, if your website was built with Squarespace, your screen should look like the one below.
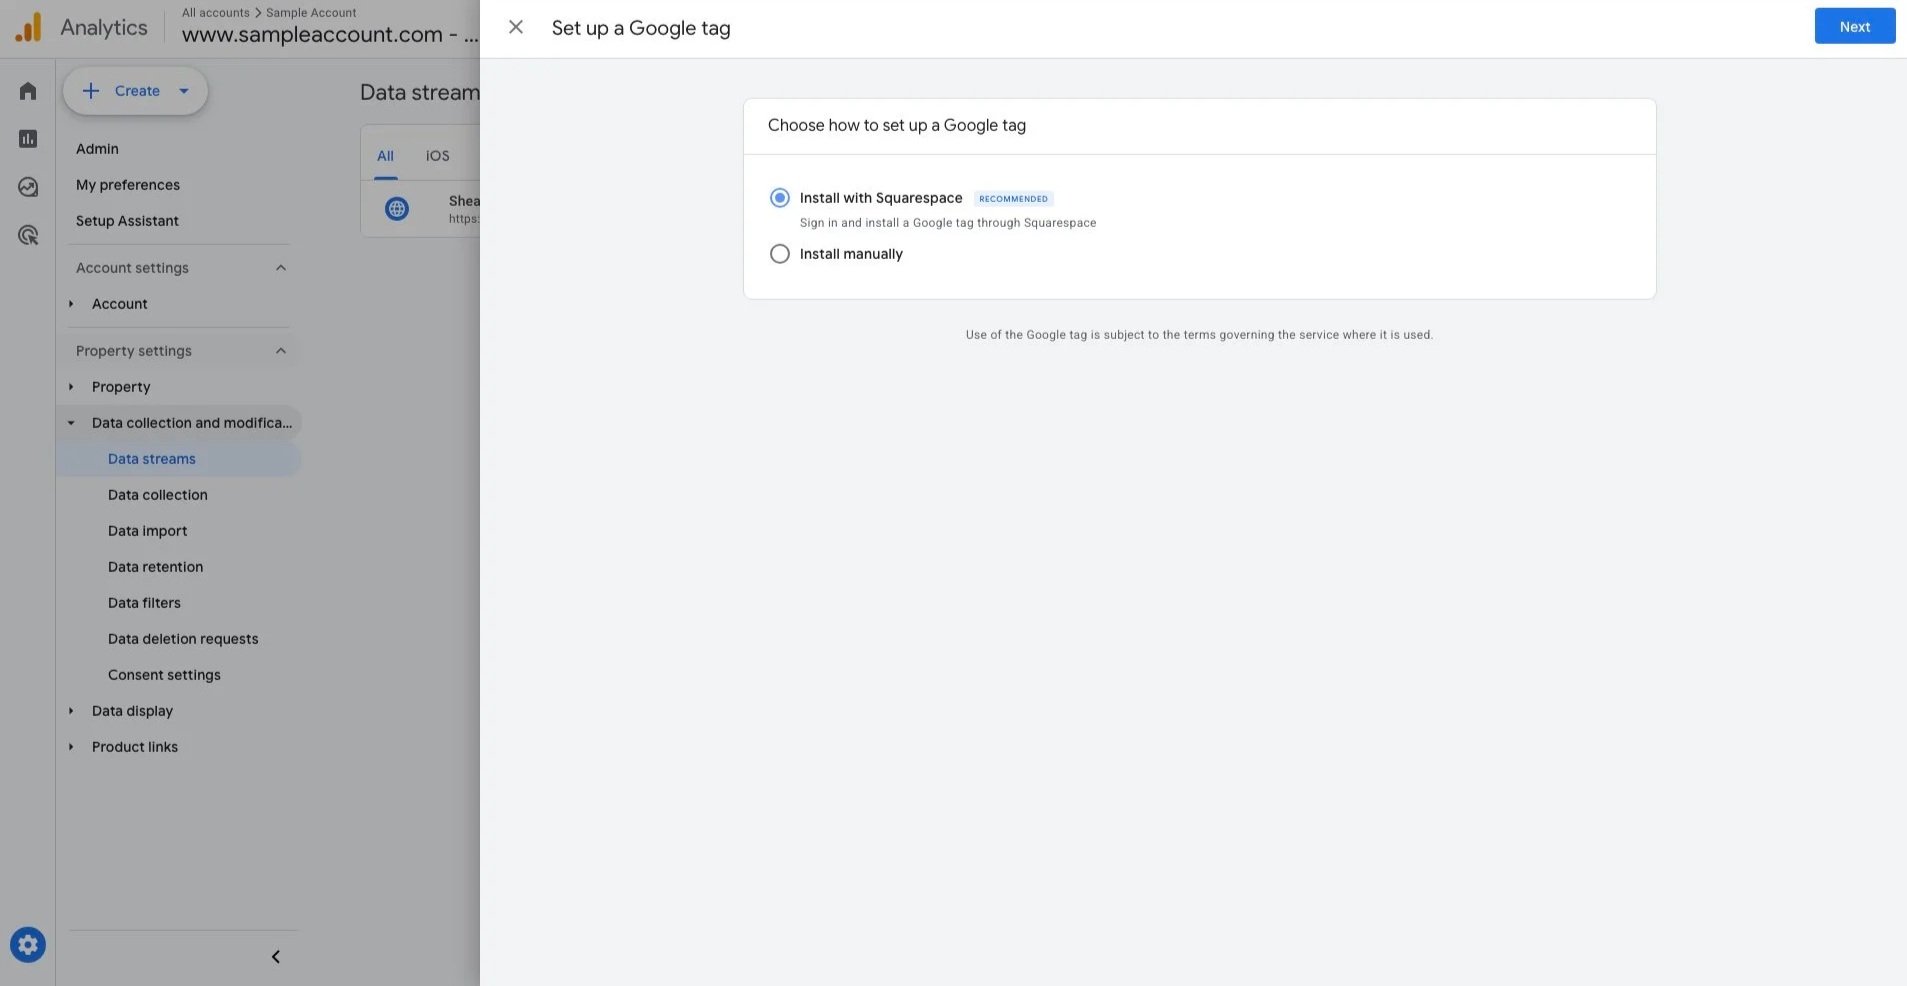
If at this point in the tutorial your screen does not look like this, feel free to contact us through our contact page. We would be happy to walk you through the rest of your set up.
Step 11.
If you leave the top bubble selected, the one that says “Install with Squarespace” and click “Next”. Your screen should look like the one below.
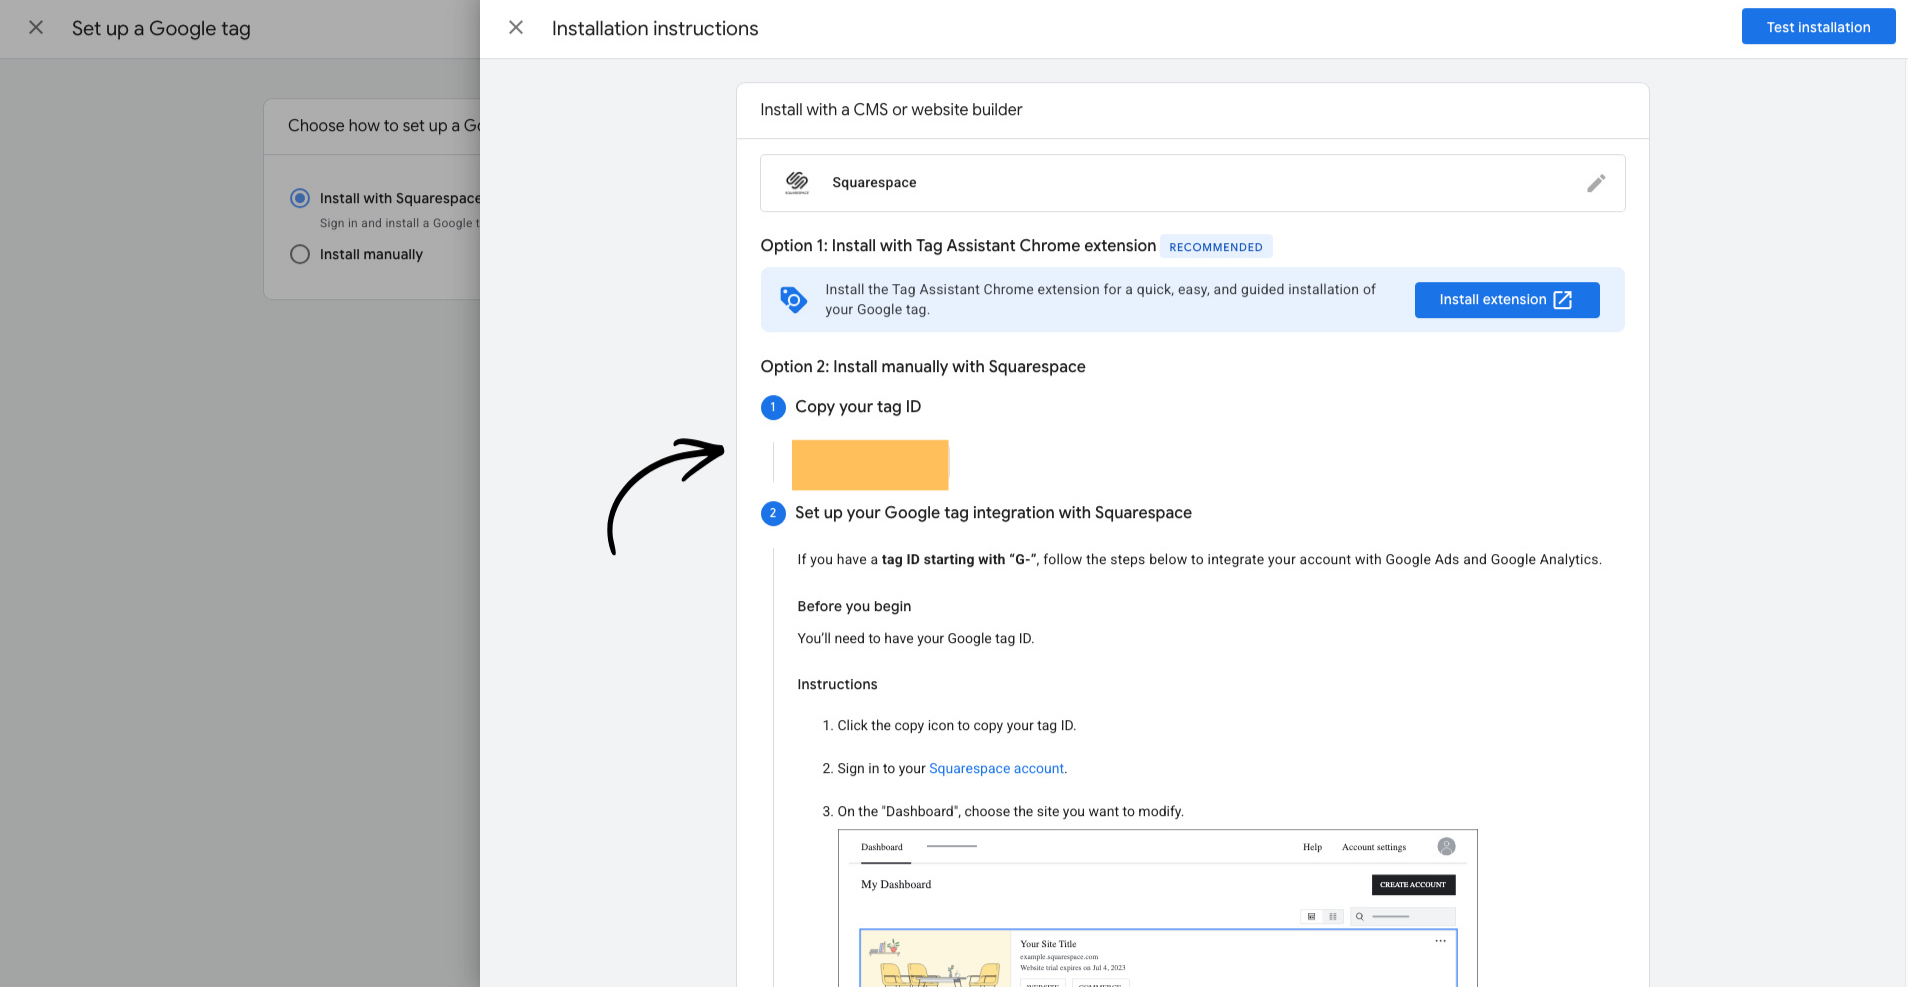
Where it says “Copy your tag ID”, copy that tag and then follow the onscreen instructions.
Once you do you, congratulations you just connected your first website to Google Analytics!
Your analytics won’t completely populate for 24-48 hours, so please allow that time for data to show up on your dashboard.
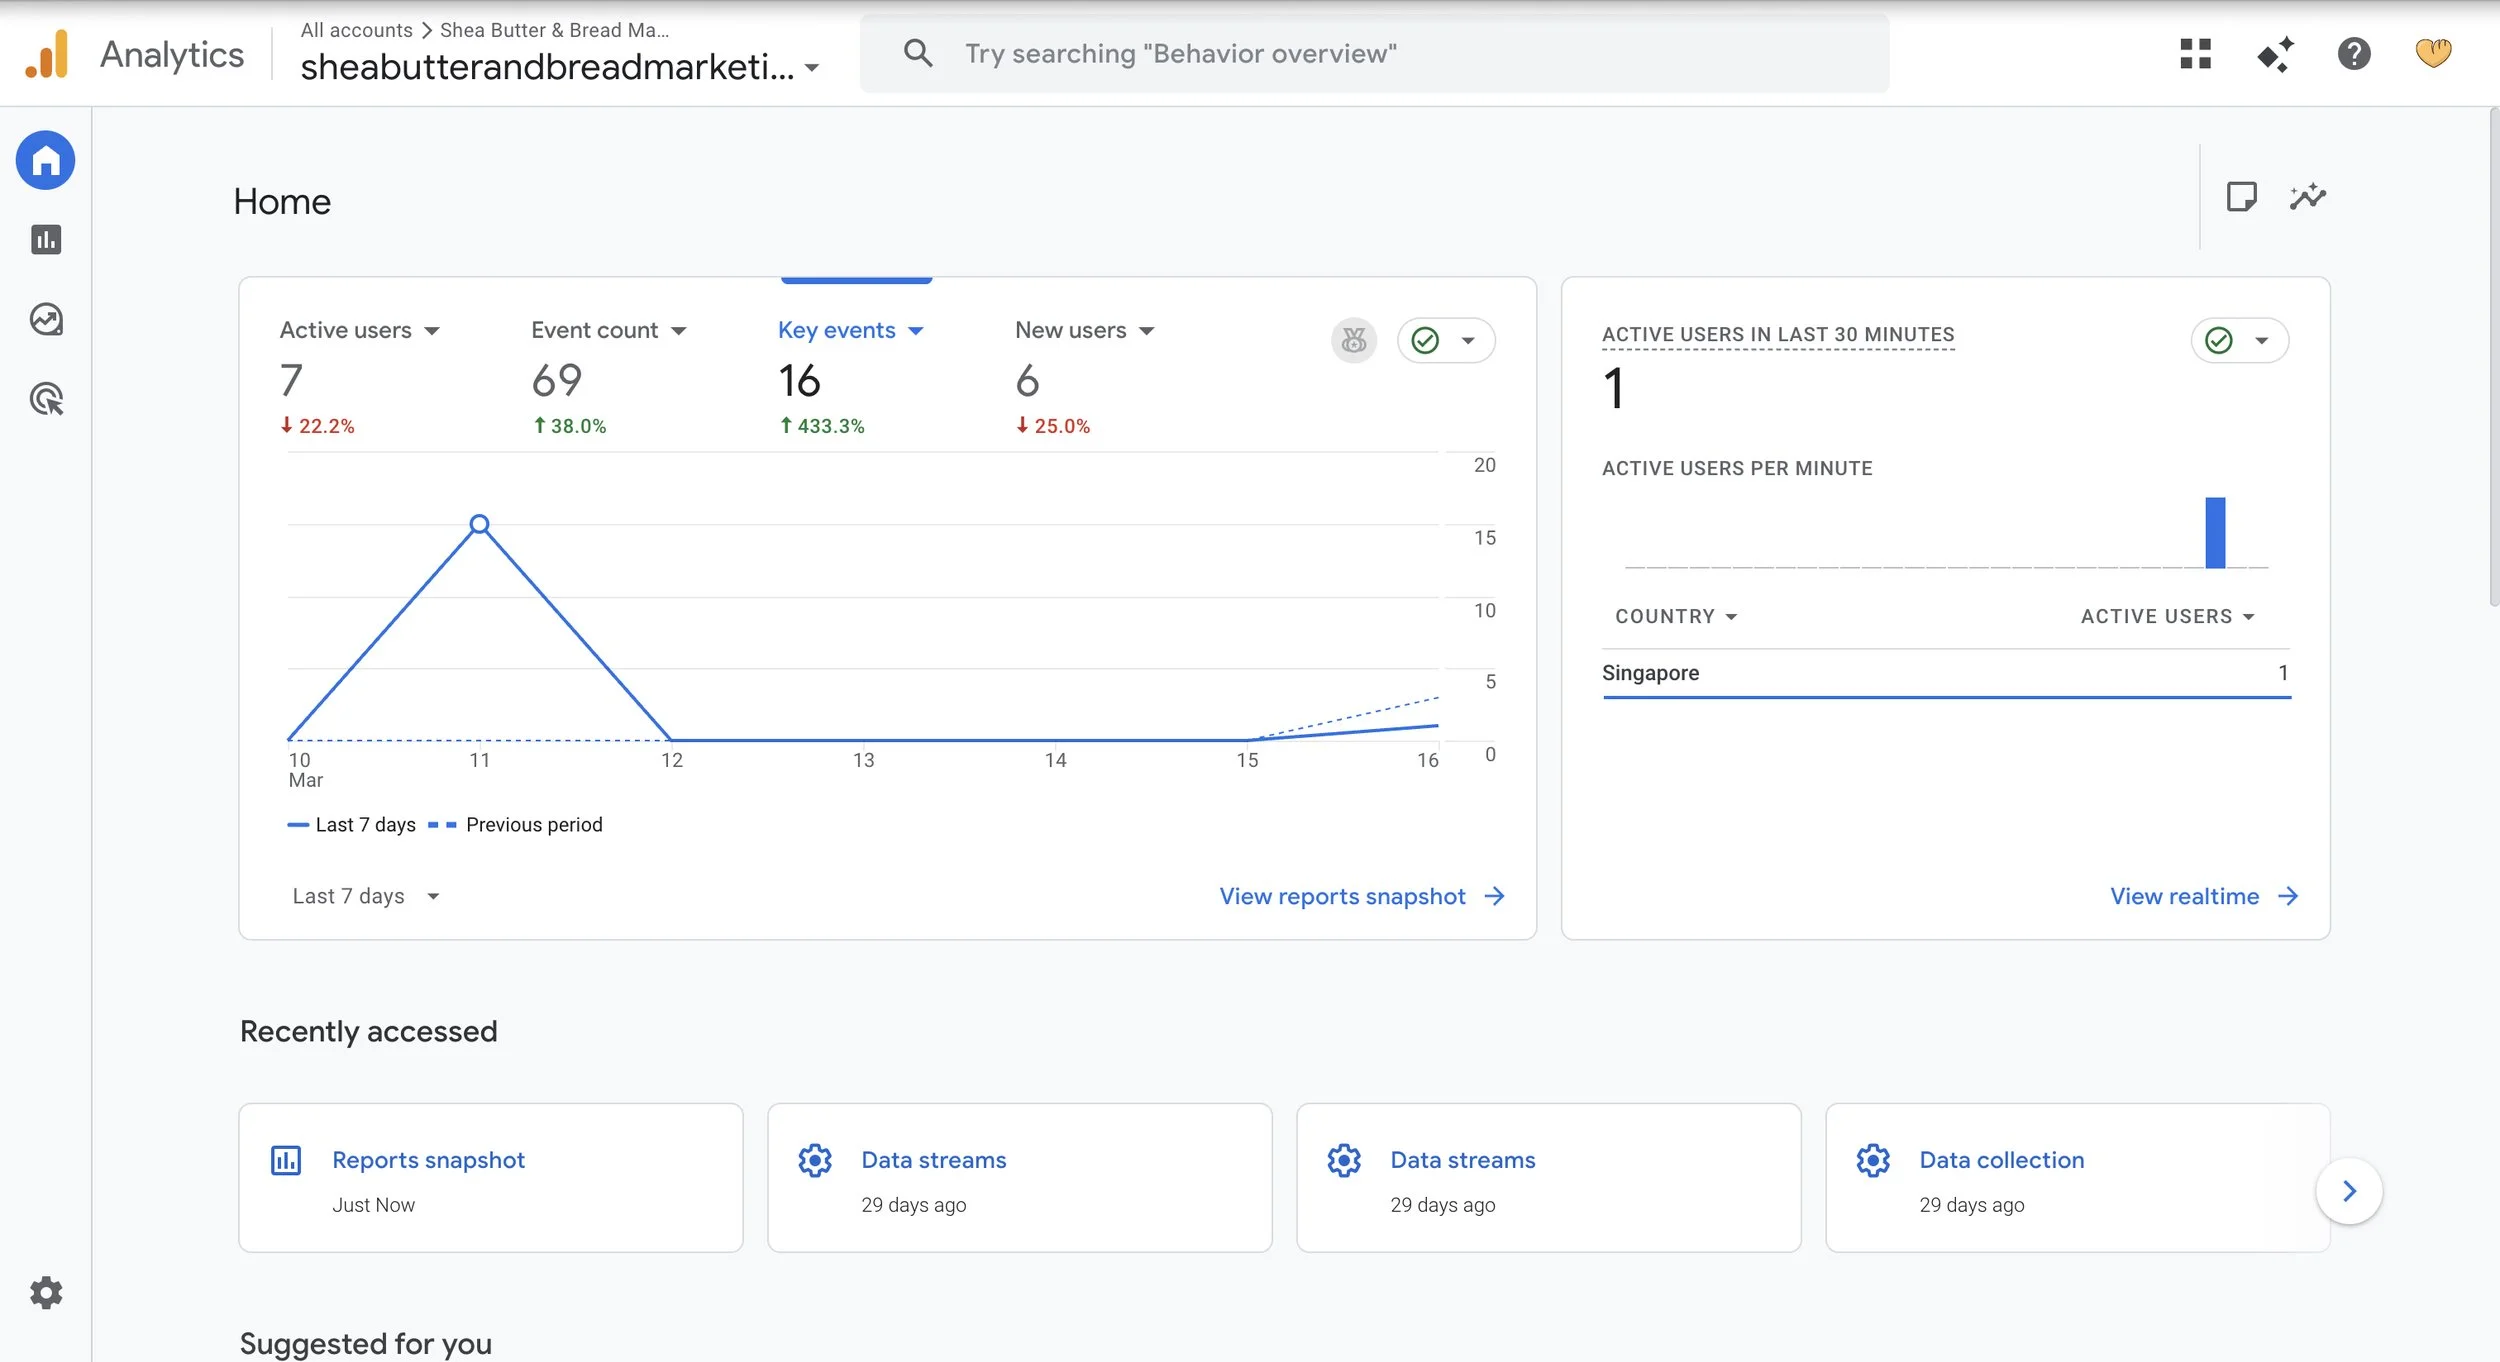
After your data populates your dashboard should look similar to the dashboard below.
If your data has not populated after 24-48 hours, please contact us via our contact page.